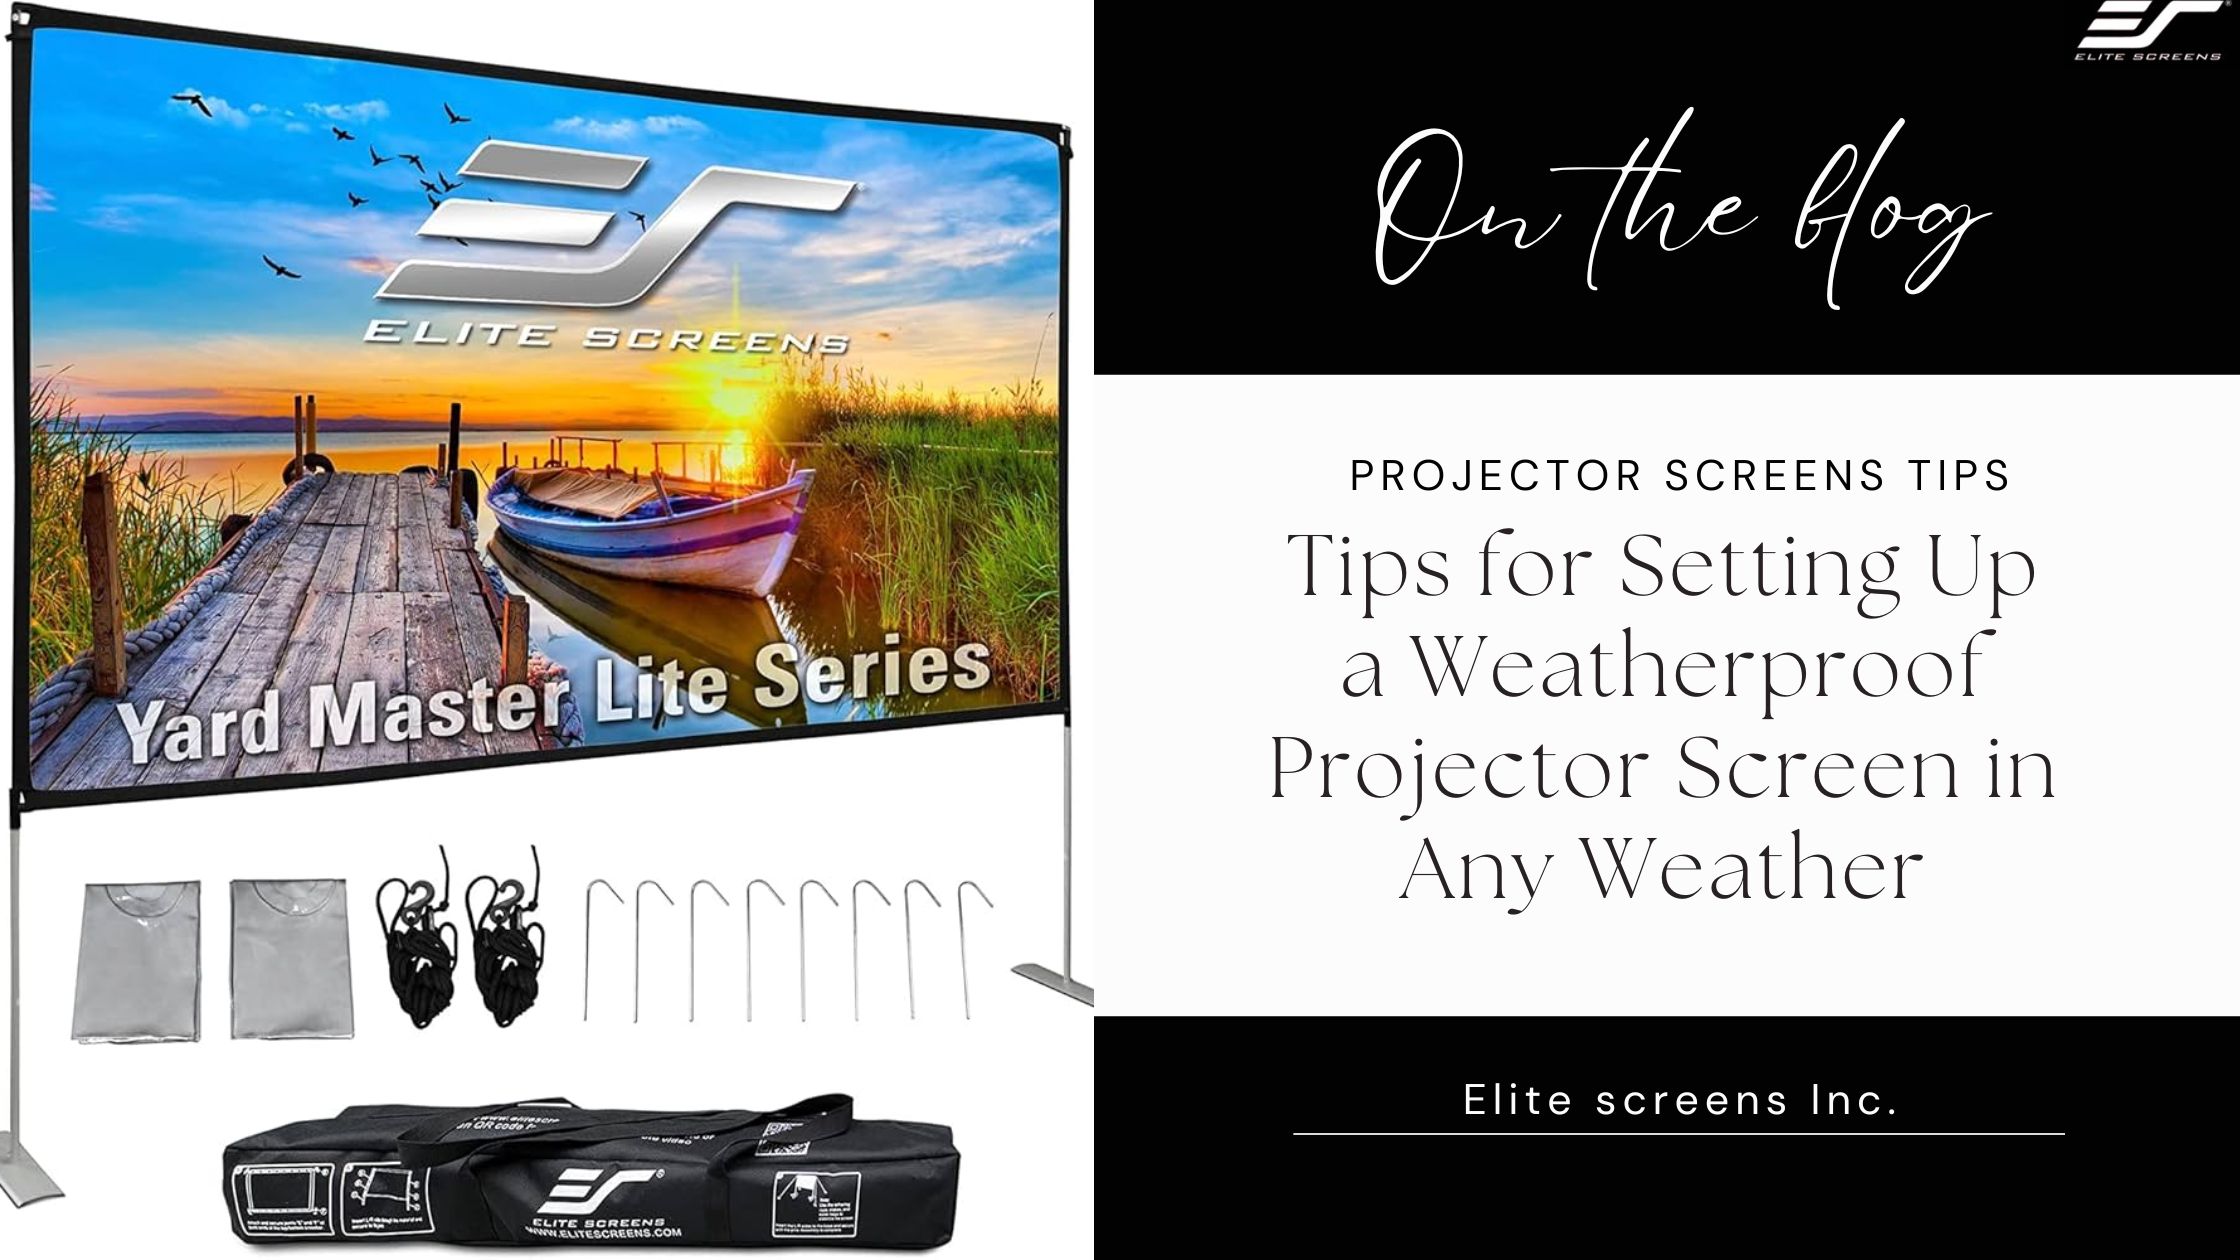
Setting up a weatherproof outdoor projector screen can transform your backyard or patio into the ultimate outdoor entertainment space. Whether you’re hosting a movie night, enjoying a sports game, or relaxing with family and friends, having a reliable and durable setup ensures that the fun doesn’t stop, no matter the weather. In this guide, we’ll explore the essential tips for setting up a weatherproof outdoor projector screen while keeping it protected from the elements. We’ll also highlight how this setup can enhance your viewing experience with the best home theater projector screen.
1. Choose the Right Weatherproof Outdoor Projector Screen
The first step to creating a durable outdoor setup is selecting a screen designed to withstand varying weather conditions. Look for screens that are:
- Water-resistant or waterproof: This feature ensures the screen can handle rain or humidity.
- UV-resistant: Prolonged exposure to sunlight can damage ordinary screens, so a UV-resistant screen is essential for outdoor use.
- Sturdy and windproof: Opt for a screen with a durable frame or a tension system to stay stable even in windy conditions.
Many brands now offer weatherproof outdoor projector screens with these features. When selecting, ensure it’s compatible with your projector’s resolution and size to maximize the experience.
2. Pick the Ideal Location
Setting up your screen in the right spot is crucial for a seamless viewing experience. Consider the following:
- Sheltered area: Place the screen near a wall, fence, or under a pergola to provide extra protection from wind and rain.
- Flat surface: Ensure the ground is even to prevent tilting or instability.
- Ambient light: Choose a location away from direct streetlights or house lights for better image clarity.
If you’re using the best home theater projector screen, pairing it with a well-thought-out location ensures optimal visuals even outdoors.
3. Use a Stable Frame or Mount
Outdoor conditions can be unpredictable, so securing your screen is paramount.
- Frame-mounted screens: These are great for portability and can be anchored to the ground for stability.
- Wall-mounted screens: If you have a permanent outdoor setup, this option is more secure and less likely to be affected by wind.
- Retractable or rollable options: A weatherproof outdoor projector screen with a retractable design can be rolled up and stored when not in use, reducing wear and tear.
4. Protect Your Projector
Your outdoor projector setup isn’t complete without safeguarding the projector itself. To ensure uninterrupted performance:
- Weatherproof enclosures: Use a durable, waterproof case for your projector to protect it from rain and dust.
- Elevated positioning: Place the projector on a raised, stable platform to prevent damage from water pooling or ground moisture.
- Cooling features: Ensure the enclosure allows proper ventilation to prevent overheating.
Pairing your weatherproof screen with a well-protected projector helps replicate the quality of an indoor best home theater projector screen setup outdoors.
5. Consider Screen Maintenance
To keep your screen in top condition and extend its lifespan, follow these maintenance tips:
- Regular cleaning: Wipe the screen with a soft, damp cloth to remove dirt, dust, and debris.
- Proper storage: If the screen is portable, store it in a dry location when not in use.
- Inspect for damage: Check for tears, fading, or frame instability periodically, especially after harsh weather conditions.
6. Enhance the Viewing Experience
To make the most of your outdoor setup, consider these additional tips:
- Invest in high-quality speakers: Outdoor spaces require powerful audio to match the large viewing area.
- Use ambient light rejection (ALR) screens: These are designed to enhance image brightness and clarity, even in outdoor settings with some ambient light.
- Optimize projector settings: Adjust brightness, contrast, and keystone correction to suit the outdoor environment.
7. Prepare for All Weather Conditions
Unpredictable weather can be a challenge for outdoor setups. Here’s how to stay prepared:
- Rain: Use waterproof covers for the screen and projector, and have a pop-up tent or canopy ready for quick protection.
- Wind: Secure the screen’s frame with stakes, sandbags, or weights to prevent it from toppling over.
- Heat: Position the setup in a shaded area to avoid overheating the equipment and ensure a comfortable viewing experience.
8. Maximize Versatility with a Portable Screen
If you’re not looking for a permanent setup, a portable weatherproof outdoor projector screen can be a game-changer. These screens are lightweight, easy to assemble, and can be taken anywhere—from your backyard to a camping trip.
Portable screens often rival the quality of the best home theater projector screen and provide flexibility for users who enjoy different viewing locations.
9. Safety Tips for Outdoor Setups
Finally, ensure your outdoor setup is safe for all users:
- Cable management: Secure cables with clips or covers to prevent tripping hazards.
- Grounding electrical equipment: Use surge protectors and weatherproof plugs to avoid damage from electrical surges or moisture.
- Proper lighting: While you want minimal ambient light on the screen, ensure pathways and seating areas are well-lit for safety.
Conclusion
Setting up a weatherproof outdoor projector screen can elevate your entertainment experience, allowing you to enjoy movies, games, and shows under the open sky. With the right preparation and equipment, you can create a stunning outdoor theater that matches the quality of the best home theater projector screen. By following these tips, you’ll ensure your setup is not only functional but also resilient against various weather conditions. Whether it’s a starry summer night or a crisp autumn evening, your outdoor screen will be ready to deliver unforgettable moments.
